In my first post about making my own wedding dress, I shared a little about how I decided to take on the project in the first place (you can read that post here: The Making of My Wedding Dress, Part 1). Today, we’ll be diving into the process itself, starting with toiles and alterations. If you’re reading this as someone who doesn’t do much garment sewing, a ‘toile’ is a sewing word for mock-up or trial run; we also call these ‘muslins’ because they’re traditionally made with muslin fabric.
Part of deciding to take on the project was realizing that the type of dress I wanted wasn’t totally outside my area of experience with sewing. If I had wanted a design that would have required boning, for example, I would have done a lot more practicing before deciding if I thought my skill set was up to snuff. (I’ve never made anything with boning, although I did once buy boning and corset-making supplies for an Emma Frost costume… which I never made.)
I did consider illusion mesh with lace on a portion of the back of my dress, but ultimately decided to forgo it. That decision was partly because it made it easier on me and partly because I thought a smooth line of uninterrupted fabric would look more timeless. (But really it was mostly the former, and that’s okay! It’s important to know your limitations.)
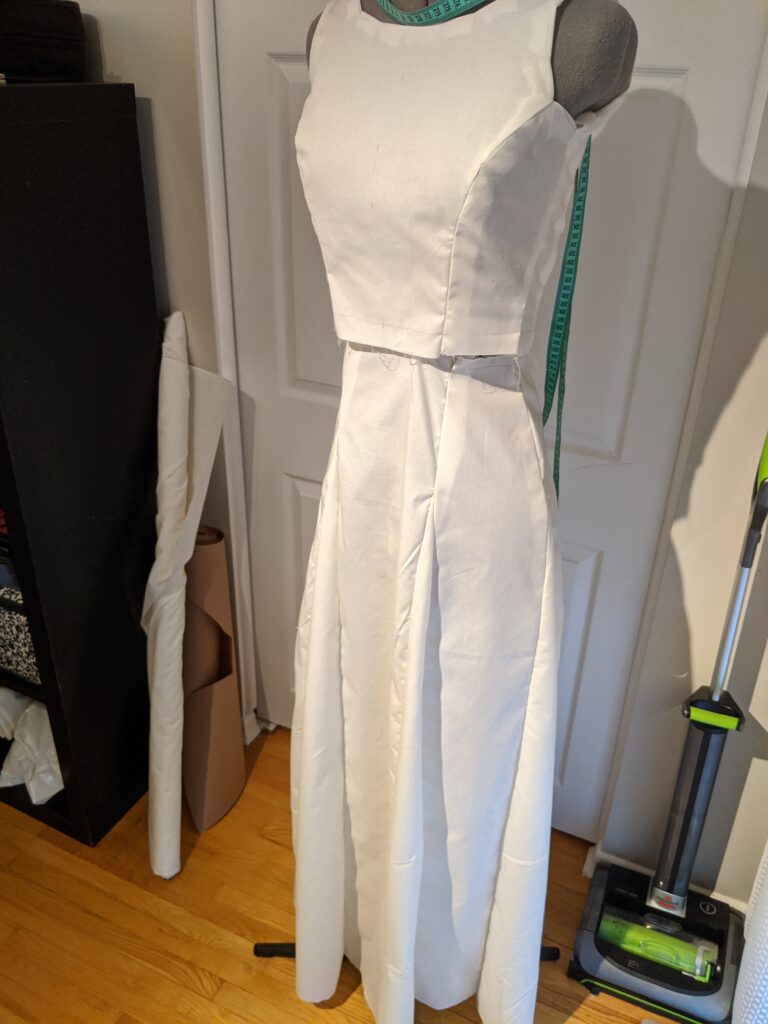
I also considered a few options for the skirt portion: ending the bodice at the waist and creating voluminous box pleats for the skirt; adding godets between the skirt panels; and slash-and-spreading the skirt panels. I ended up testing the second option, but going with the last one. I wasn’t totally sure I’d love the box pleats on myself as much as I liked them in theory in my head. The godets just didn’t give the look I wanted, so I’m glad I tested them out on a toile first.
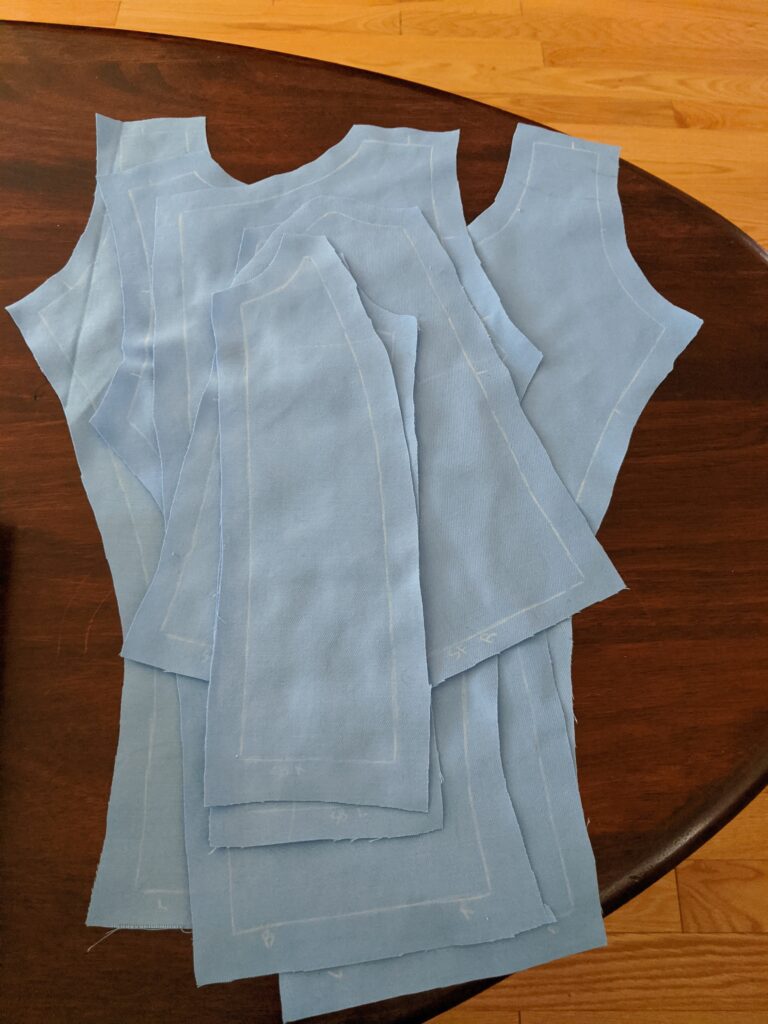
I chose Butterick 4300 as a starting point, because it had the basic lines I wanted for the bodice, and because I already had it in my stash. I am not sure I have a record of how many toiles I made of just the bodice portion in broadcloth before I even touched the skirt, but let’s just say it was way more than I’ve ever made for any other project. The fit of the bodice was incredibly important, since it was the only portion that was fitted.
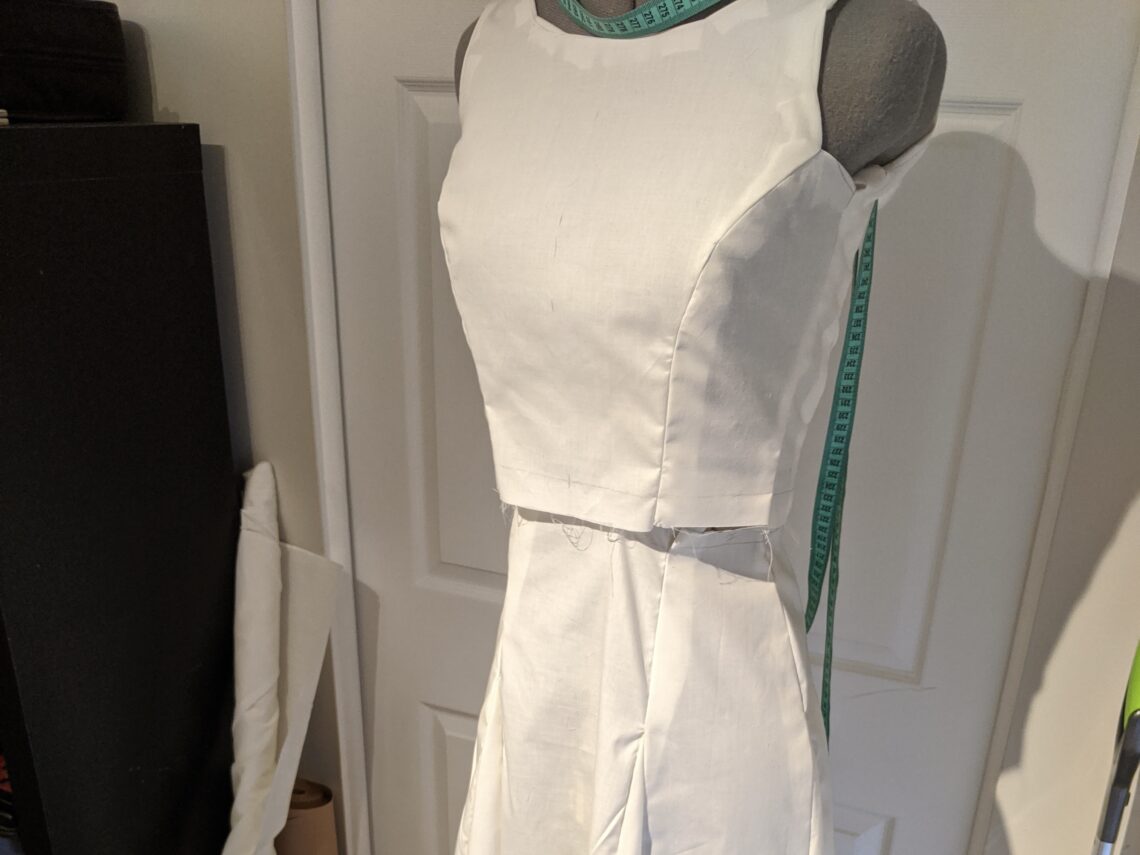
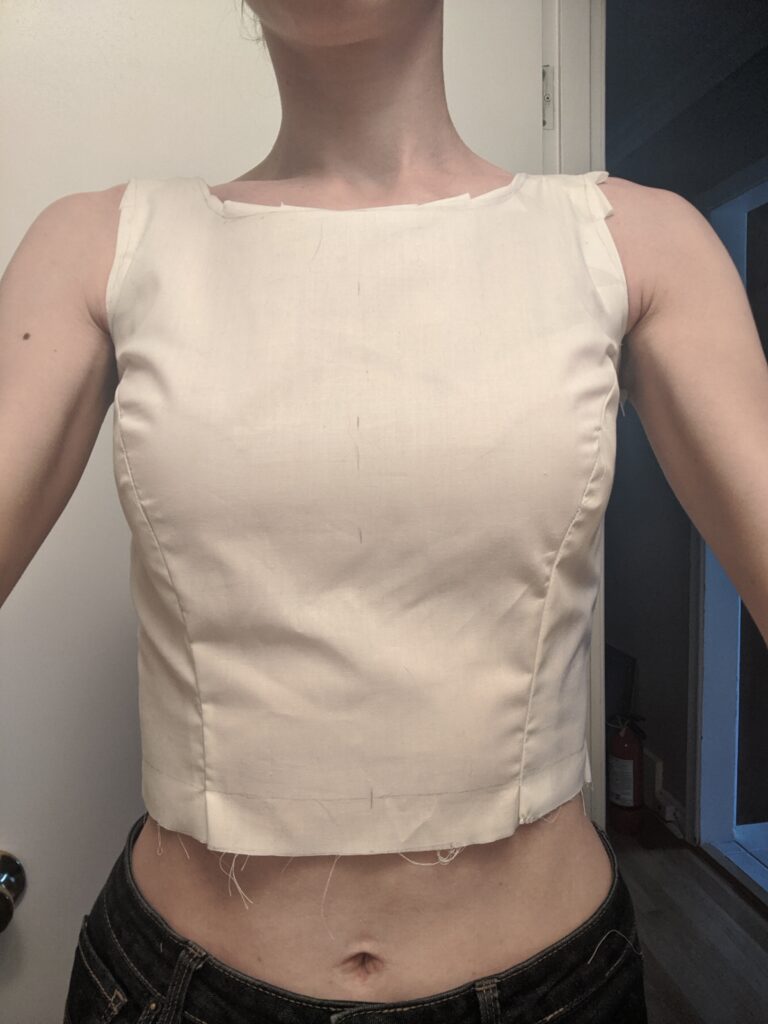
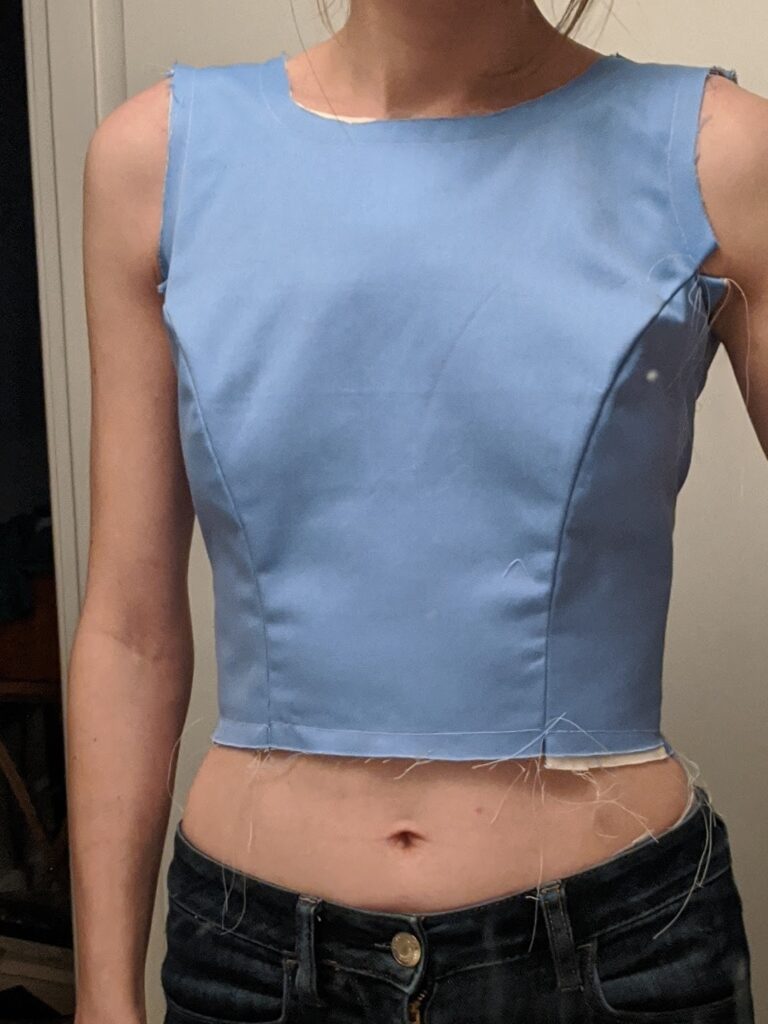
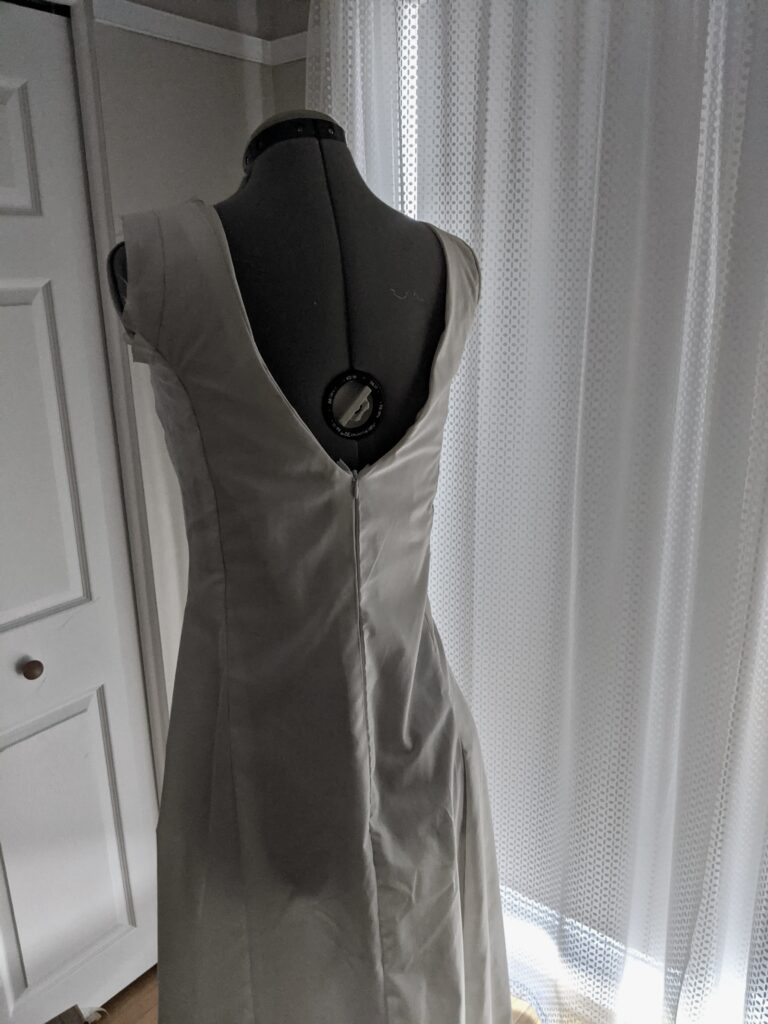
I’ve included a few photos of the toile process here. The first mock-up was the original pattern, in my best guess of which size would fit. If you look closely, you can see that I’ve clipped into the seam allowance at the neckline, so that I could fold it under and see where the neckline would actually sit on me, but even so, initially the neckline was much higher than I wanted. The fit wasn’t bad for an every day dress, but I adjusted the fit while I altered the neckline and arm holes; you can see the progression in fit and style over the course of the three bodice toile photos.
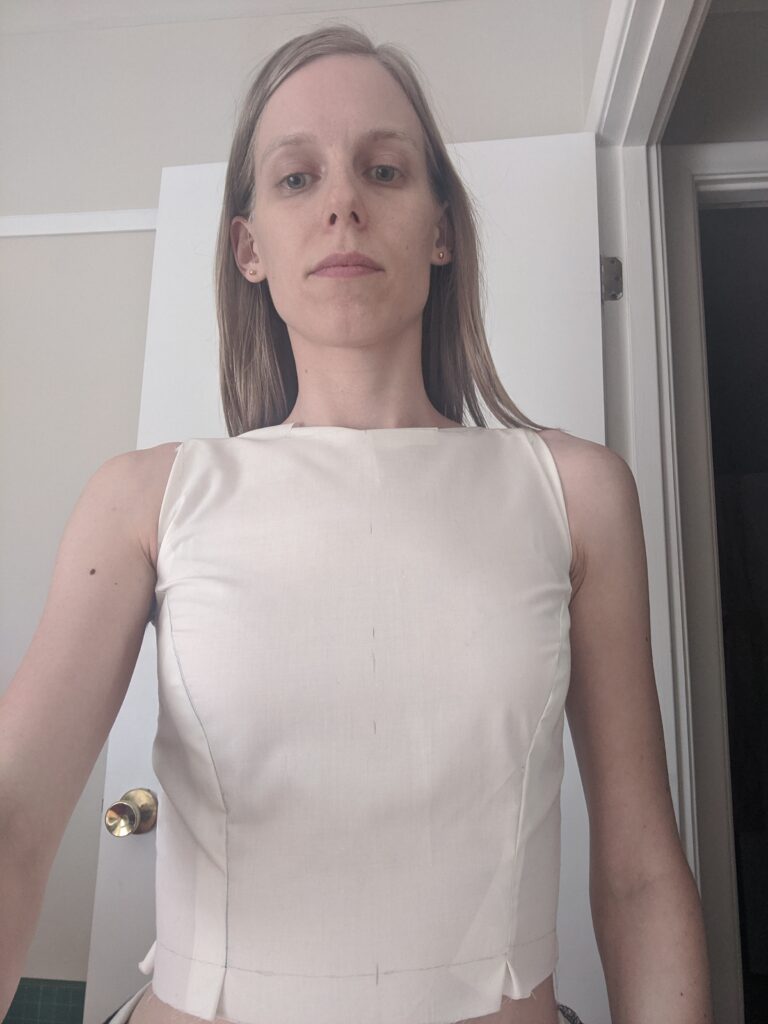
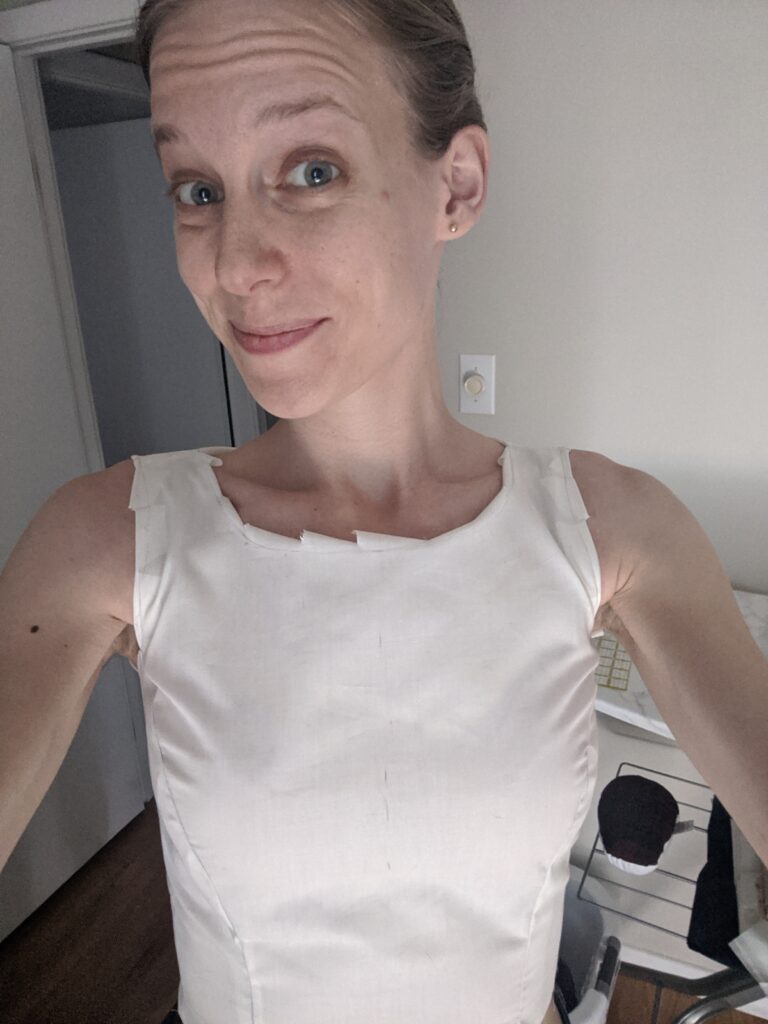
I made only small changes to each version, carefully labelling the new copies of the pattern each time, to ensure I wouldn’t get them mixed up later on. This also meant I could go back to a previous version if I didn’t like a given change.
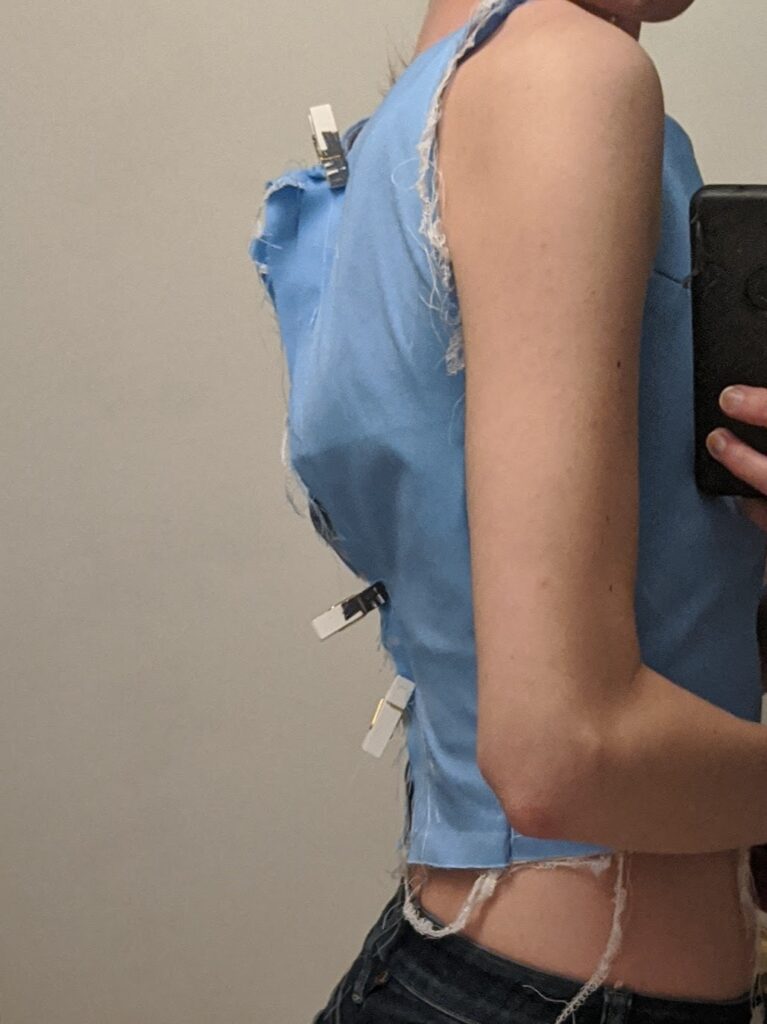
Once I had the bodice fitting like I wanted, with the front neckline and arm holes where I wanted them, I decided it was time to do a wearable muslin. There were techniques I wanted a chance to practice (more on this in a future post), and making a wearable muslin meant I could try them all out. I knew I would want to underline the final dress, for example, so I did the same on this mock-up.
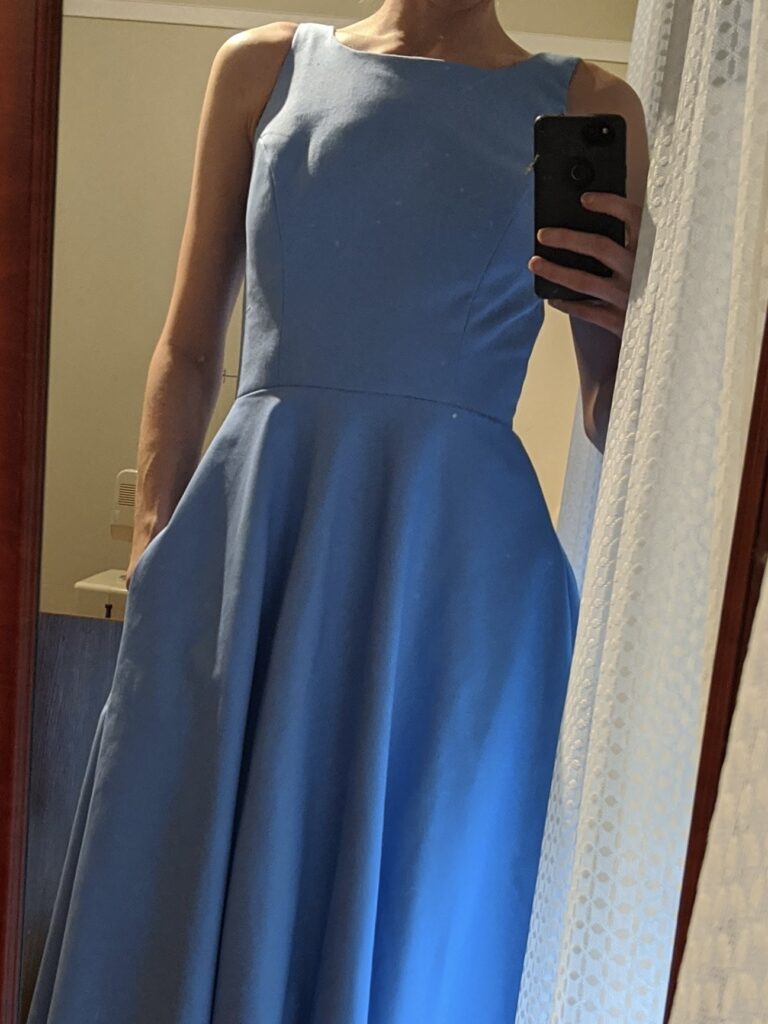
This is where I made a classic mistake that experienced sewers know not to make, but which we all make sometimes anyway. I chose fabric because it was beautiful, not because it was the right weight and drape to mimic the final fit. To be fair, I hadn’t bought my fabric yet. To be reasonable, I knew it wasn’t going to be a lightweight twill. But look how beautiful this colour is! I couldn’t resist.
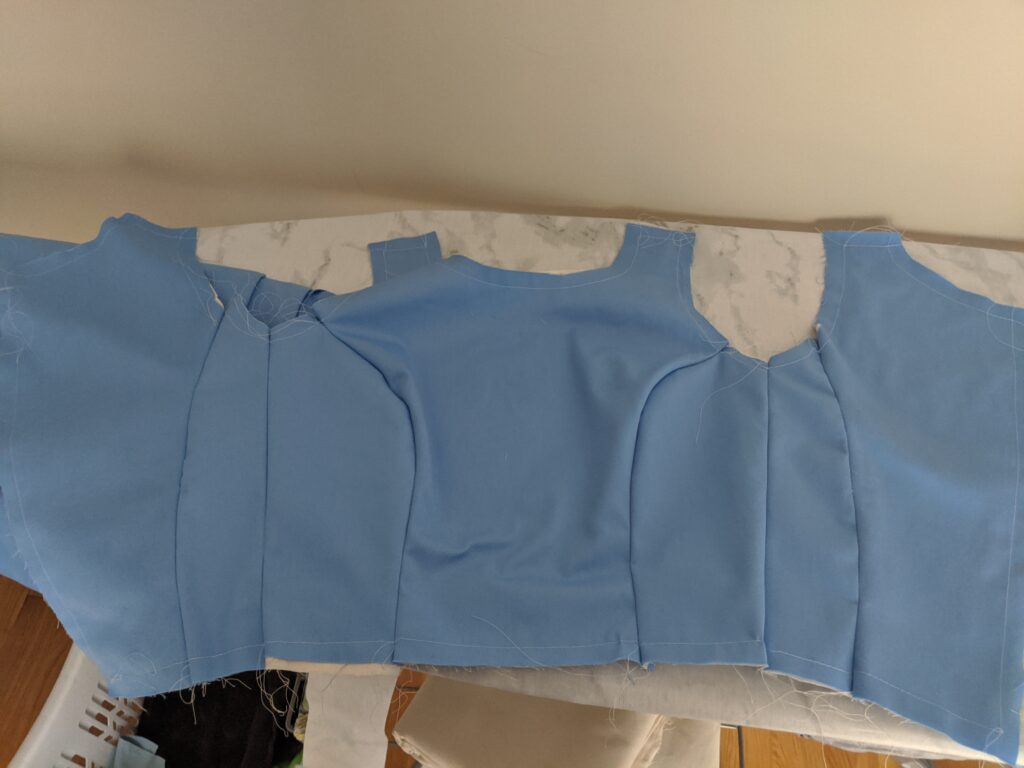
As a result of using a heavier (aka thicker) fabric, and lining it with broadcloth, the mockup was too small to fully zip up in the back. However, I was confident from previous fittings that this wasn’t an issue with the pattern, and the dress would fit correctly when I made it with the weight of fabric I planned to use for the actual dress. Plus, I was going to use enough seam allowance for a little flexibility.
This beautiful blue dress is still unfinished in my sewing closet. For a while, I tried to find a solution to slightly expand the back, but my focus changed to other projects. Now, I don’t think making it fit me is in the cards, so I just want to finish it so someone else can enjoy it. You’ll note I used a partial circle skirt, which, come to think of it, was briefly an option for the actual dress until I thought about how giant that piece would have to be… so I settled for one on my ‘wearable’ muslin.
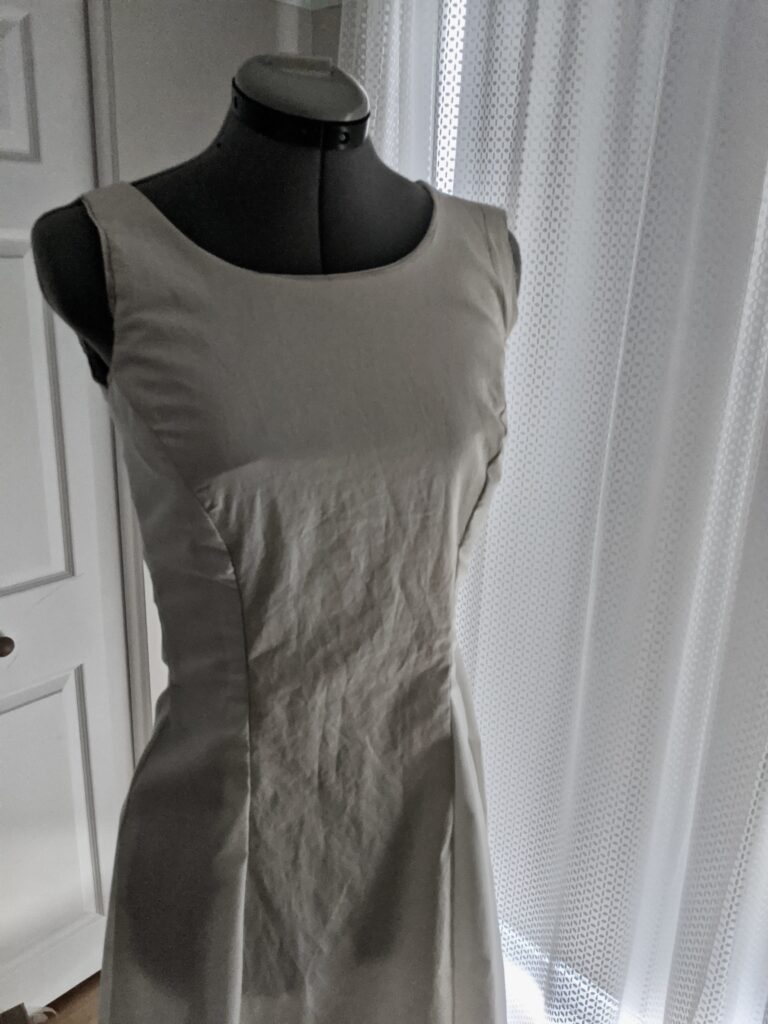
Although the mock-up didn’t fit me properly, it still gave me the chance to practice how to sew up a garment with an underlining, including hand sewing my neckline facing. I did one more toile, though. This one had the v-neck back I wanted, and the extended bodice panels I slashed-and-spread to create volume. I believe I made some final tweaks to the arm holes here, too, but this was essentially my final pattern.
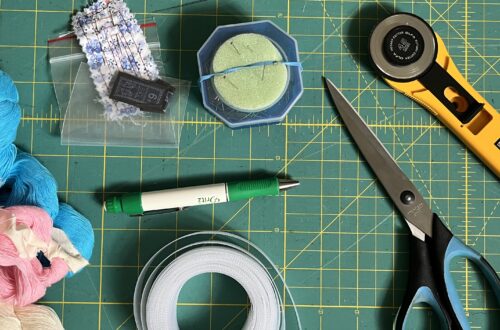
Keep an eye out for my next post in this series; in future posts I’ll be detailing where I sourced my materials and notions, which tools I used, the techniques I learned, and more.