
It’s no secret that I like to host. It’s also no secret that I like to make both classic and creative cocktails. This post will share a secret to always being ready to make a quick cocktail: simple syrup. As you can probably guess, the recipe is simple – one part each sugar and water – but I have a few tips on making it and storing it, and reasons why it’s great to keep on hand.
Sure, you can buy simple syrup. But making it is easy, super quick, and highly rewarding! I love a low-effort, high-reward activity, and this is certainly one. I’ve seen people say it only keeps a matter of weeks in the fridge, but I’ve never had an issue keeping my homemade simple syrup until it’s all used up. I’m not your mom, so use your own judgement!
What is simple syrup and what can I use it for?
Simple syrup is exactly what it sounds like: a simple recipe for a sweet, thick liquid, which is a little runnier than most honeys, and is often used to sweeten cold drinks. It works well for this, since the sugar is already dissolved in water, which means you don’t end up trying to dissolve granulated sugar into your cold drink recipes. That leads to a lot of stirring, and usually you end up with granules left at the bottom of your drink. Not ideal! Especially since that, in turn, can lead to oversweetening your drink. (Ask me how I know!)
Here are my favourite uses for simple syrup:
- Homemade cocktails (I even use it when I make an old fashioned, because… well, do you keep sugar cubes on hand?)
- Sweetening iced coffee or tea (my household’s number one use for it!)
- Fresh, small batch lemonade
- Homemade sodas using my Sodastream
I know there are lots more applications, including some for baking. What would you use it for?
How do I store my homemade simple syrup?
Before we get into the recipe itself, a quick word on storage.
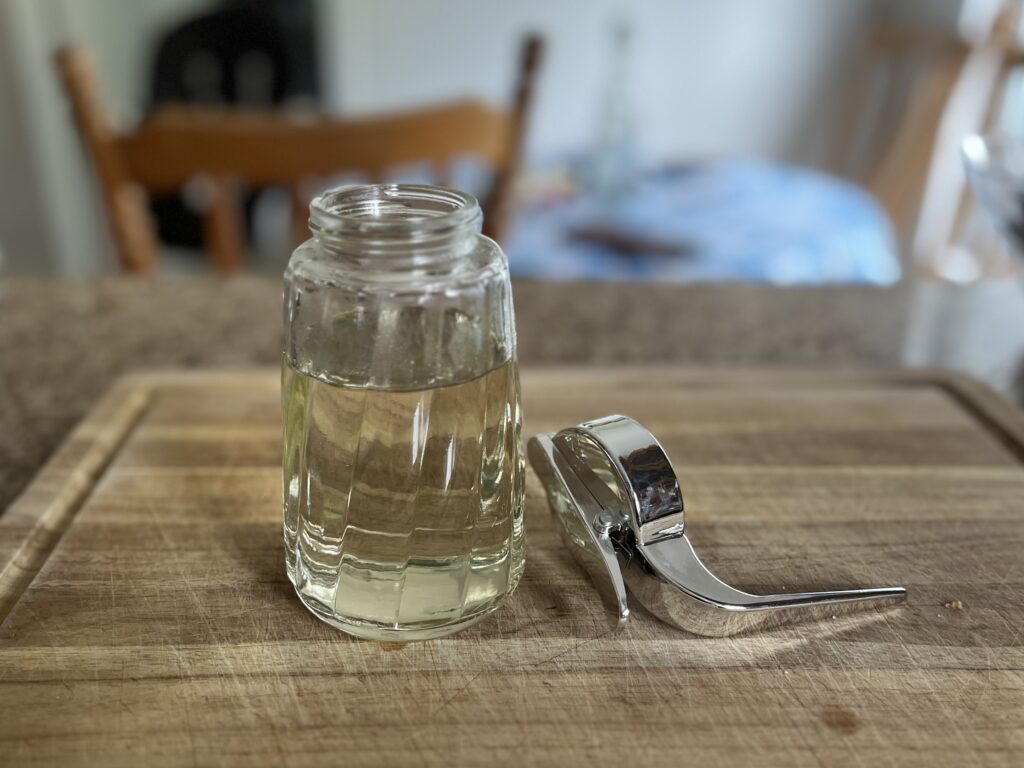
You can keep your syrup in the heat-safe container of your choice. I like a syrup jar, since it has a built in spout, but the lids can be annoying to clean. You might prefer a mason jar, or an old jam jar, and that’s fine too!
Always keep your simple syrup in the fridge; this will slow any bacterial growth and, as a bonus, keep it cool for use in cold drinks! I do not recommend keeping your homemade syrup at room temperature for longer than a day or two.
If your simple syrup crystallizes, in my experience, this means the sugar was not fully dissolved when you cooled it. You can mix it back together by reheating the syrup. If you store it in a heat-safe container (and you should, since you’ll be pouring it in while it’s hot!), you can place the whole container in warm water until the crystals dissolve. From what I’ve seen, this is far more likely to happen with rich syrup (which is 2 parts sugar to 1 part water). I personally prefer simple syrup, as it’s sweet enough for my taste!
Sold? Make it using my recipe, found below.
Homemade Simple Syrup
Ingredients:
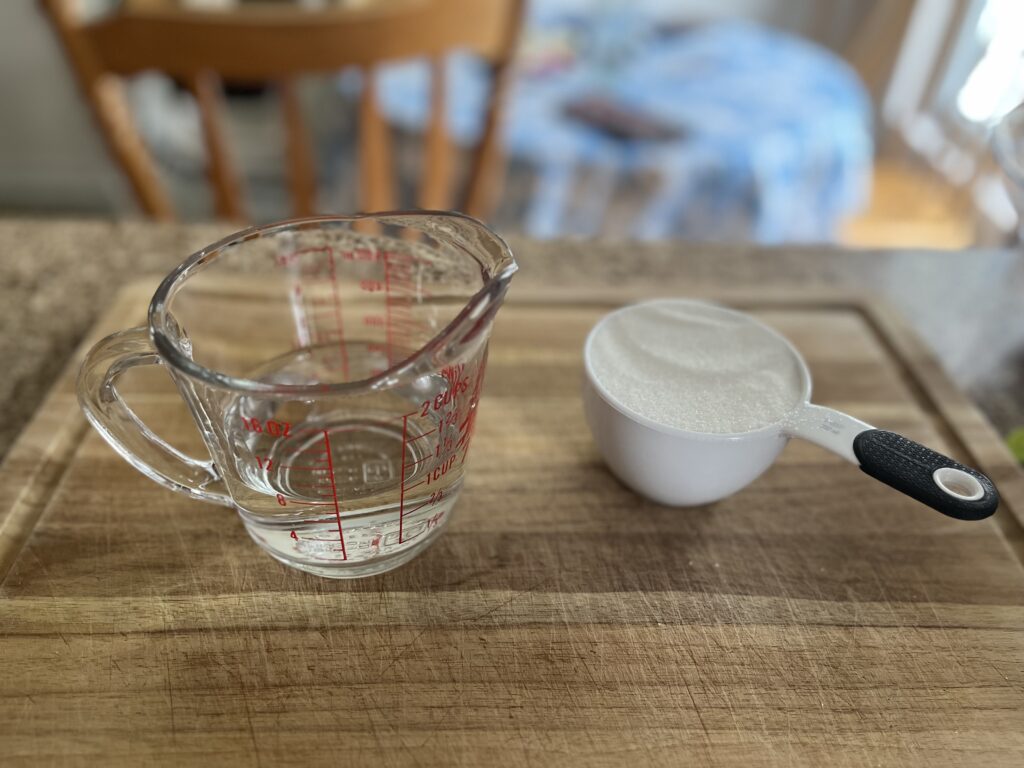
- 1 cup granulated sugar
- 1 cup water
Instructions:
- Have ready a clean, heat-safe syrup container.
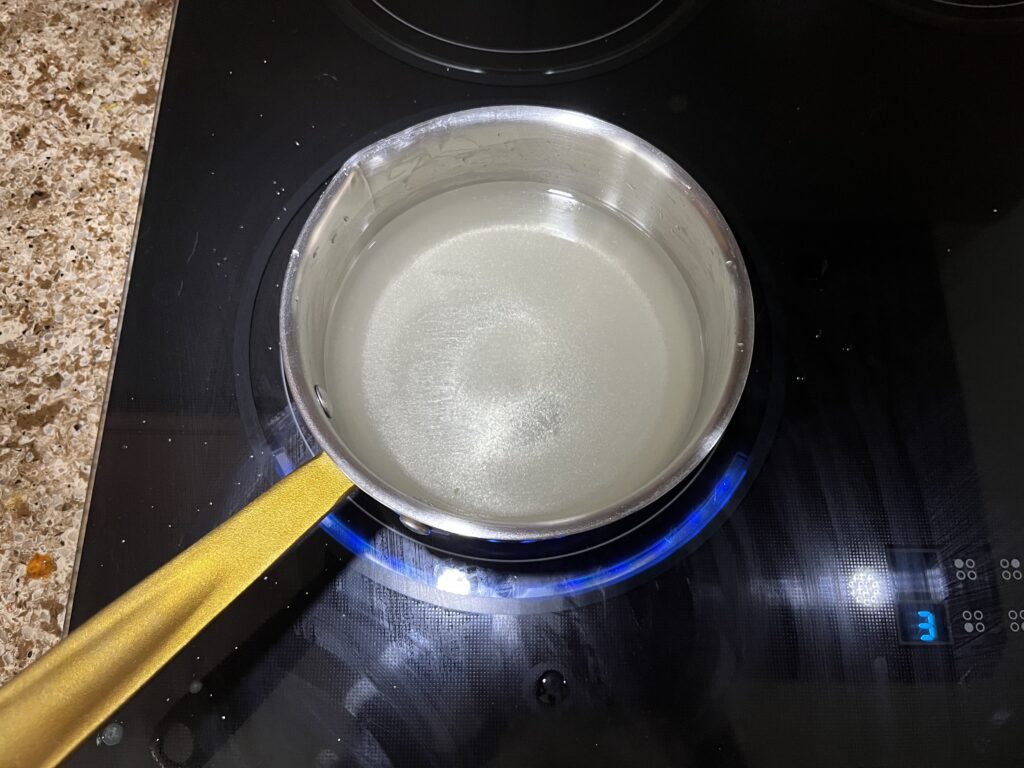
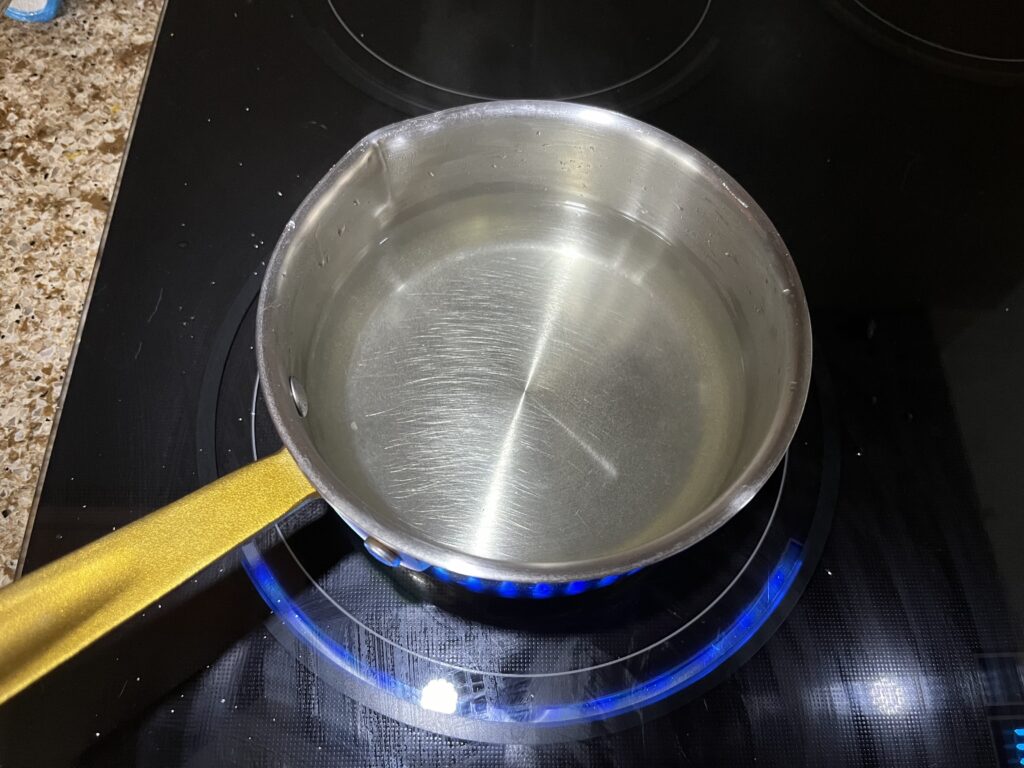
- Slowly heat water and sugar in a saucepan on the stove over low to medium heat. Stir constantly.
- Do not allow it to boil; you just want to keep it hot enough to dissolve the sugar.
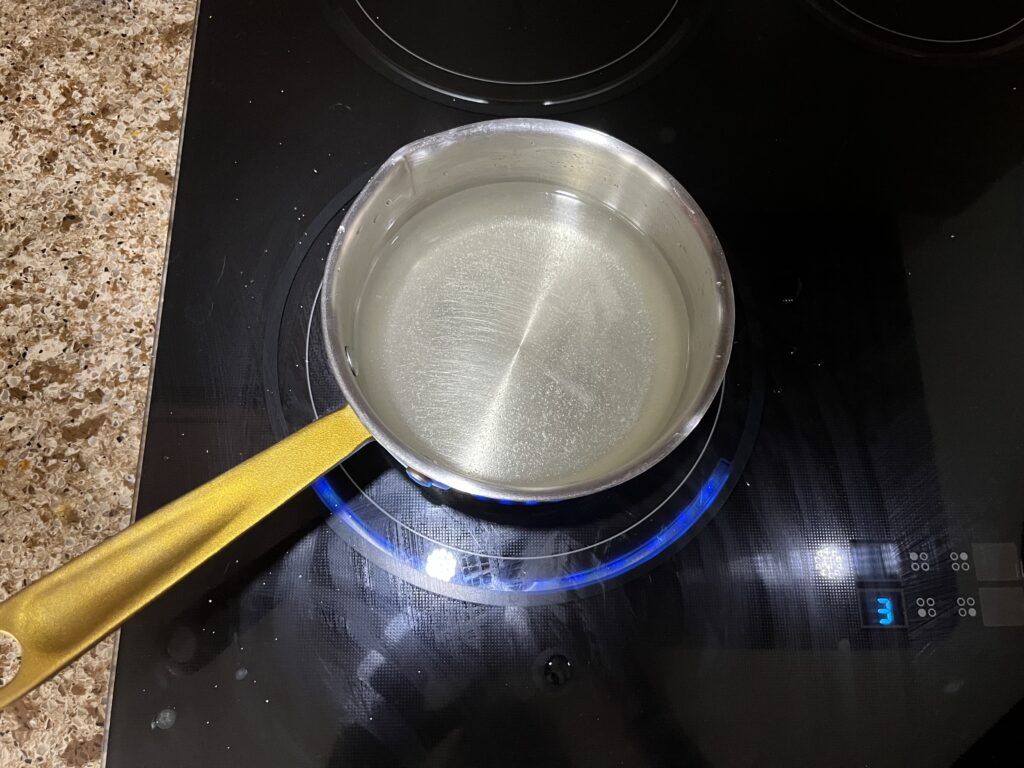
- Once every last sugar granule has dissolved, keep stirring one more minute to be very sure it’s fully mixed, then remove the syrup from heat.
- Pour the syrup into your heat-safe container, and leave the lid off until it’s fully cool. If crystals form, I recommend pouring it back into the pan and heating it a little longer to save yourself time later on.
- Once it’s cool, and totally clear, put the lid on and keep it in the fridge.
- When you finish your batch, be sure to clean the container thoroughly and allow it to dry before filling it up again.
Let me know if you try this, and what you use it for!


