
Welcome back to my wedding dress series! In my first two posts, I talked a little about why I decided to do it and how the mockup process went. Today, I’ll be covering what supplies and materials I used, and which were most beneficial.
Before I began this project, I already had a fairly well stocked sewing space. Before I get into items I purchased for the project, here are some of the things I already had:
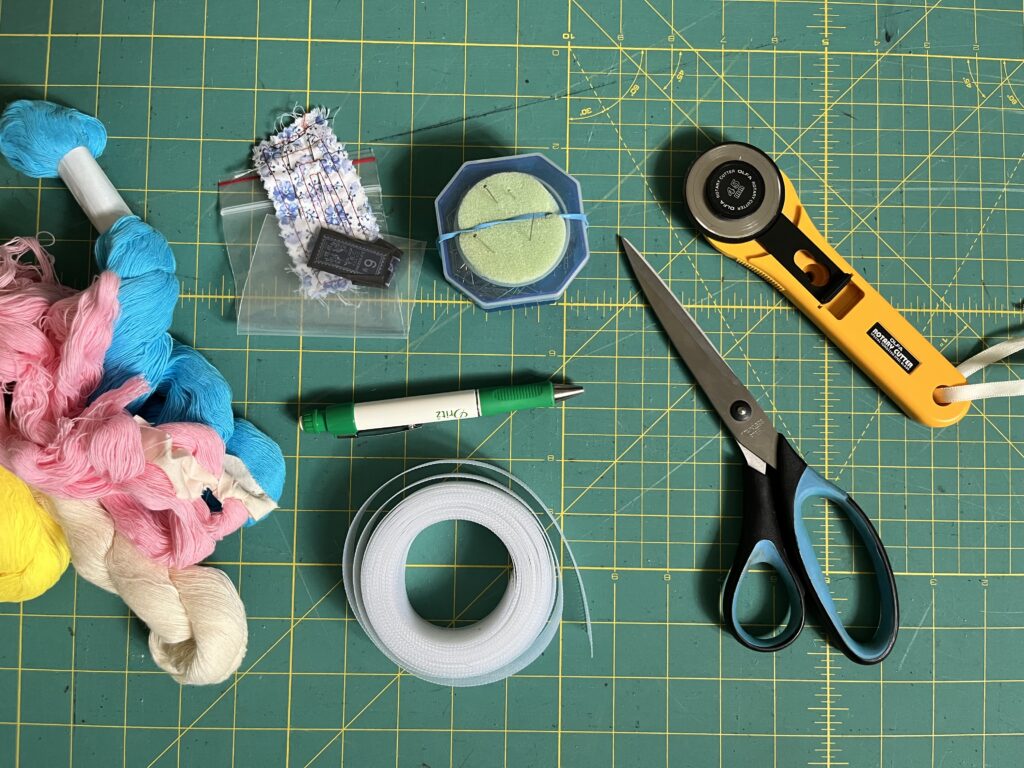
- Sharp sewing scissors
- Large, fold-out cutting mat (actually, I borrowed it from my mum, but then she let me keep it)
- Self-healing cutting mat and rotary cutter
- Disappearing fabric pen
- Tracing paper
- Cotton broadcloth for muslins
- Fine hand-sewing needles
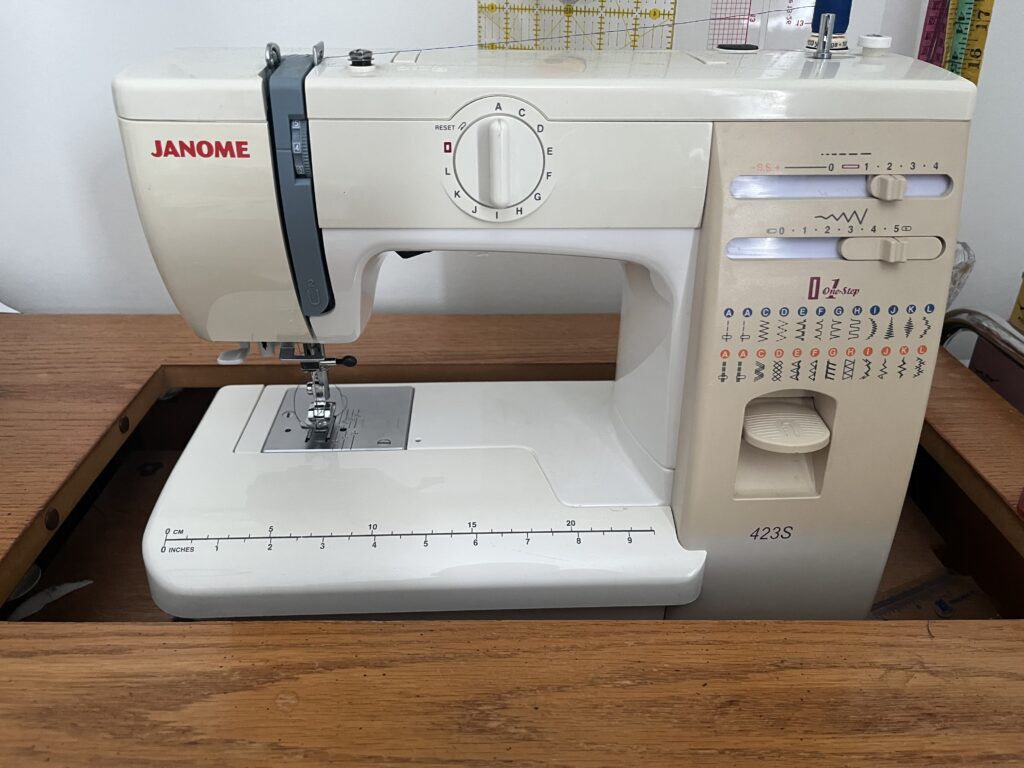
- Sewing machine
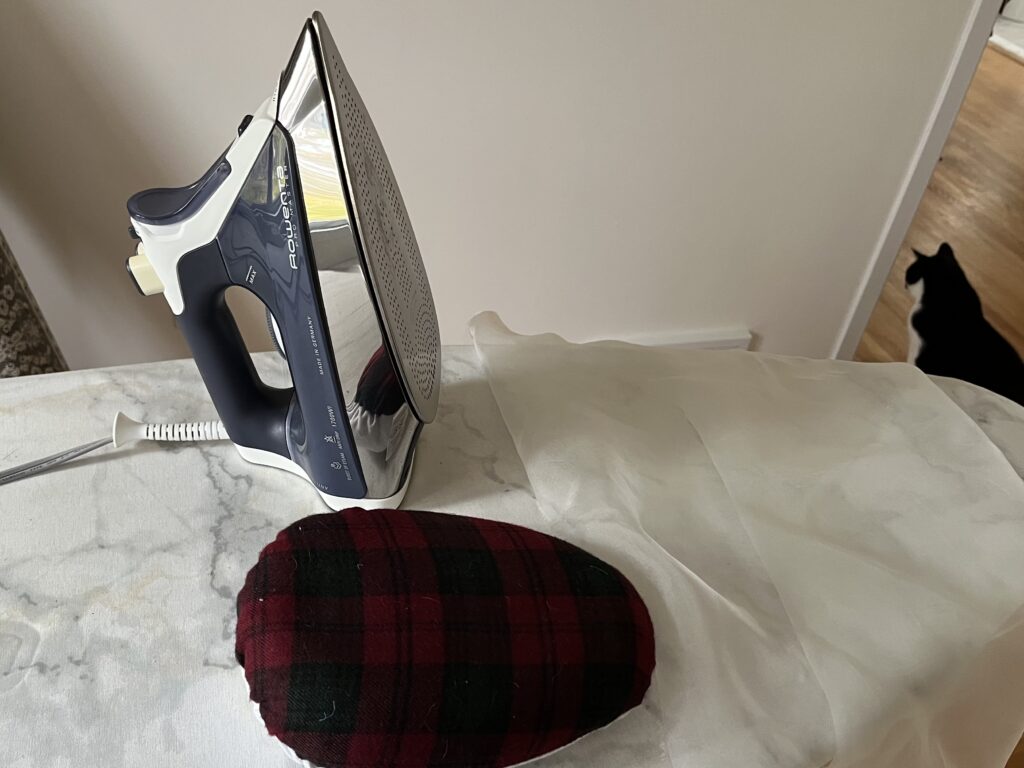
- Iron and ironing board
- Dress form (this wasn’t strictly necessary since I didn’t do any draping, but it was nice to be able to see the dress on a third party)
I will note that I have a nice iron with a great steam function, which I consider necessary for garment sewing. For a long time, I used an old $2 garage sale find that didn’t steam and didn’t even really get very hot. It was not very helpful for pressing seams! My mother (who also sews and is a great gifter) has since bought me both a Rowenta and a particularly tall ironing board, both of which have been life-changing when it comes to my sewing results. Pressing really is a big part of sewing well, but it took me a long time and a nice iron to admit it.
I currently sew using a Janome 423S, which I can also thank my mother for. Some years back, she researched and purchased a new machine for herself, and gave her old Singer to my sister. Then she turned around and won our local Fabricland giveaway for a new Janome, and thoughtfully gifted it to me. I hadn’t even moved out on my own yet. I feel very lucky to have never been without a machine since I learned to sew; it’s a luxury I really took for granted for some time.
Tools I bought for the project
Okay, so much for what I already had on hand. Now for the new stuff! First, I’ll cover the items I bought for this project knowing I’d use them again and again.
In order to underline each piece without shifting the grain, I decided to go all-in on the couture methodology and hand baste each underlining piece to the outer fabric before cutting the outer fabric. Since I was going to be spending a long time basting, I figured it was worth purchasing special basting thread and needles. I ordered some beeswax to minimize tangling, but didn’t end up using it (to this day, I have not used it, though I definitely should have on some projects). Instead, I used Japanese cotton basting thread and Japanese needles, both sourced from Susan Khalje’s online store. It was incredible to sew with; it really didn’t tangle, and the colours showed up very well on my white fabric. I would recommend both the thread and the needles!
I also purchased a few items to avoid damaging my fabric: silk pins (more delicate than regular pins), a silk organza pressing cloth, and an iron cleaning kit. I purchased the pins from a local fabric store (probably Fabrications!) and the pressing cloth and iron cleaning kit from Amazon.
I also finally bought myself a tailor’s ham (similar to this one on Amazon), and I’m so glad I did as it made a huge difference in pressing the princess seams, which are notoriously finicky! A tailor’s ham looks a little like a firm pillow, only it’s stuffed with sawdust or similar to be very firm. It allows you to shape items as you press or steam them, so that you can press curves accurately. This was crucial to a professional finish on those princess seams!
Disclaimers: The Amazon links are not always to the exact listing I bought from back in 2020/2021 (most of which are no longer live). As an Amazon Associate I earn from qualifying purchases.
Fabric and notions
Now let’s go over the fabric and notions I bought just for the dress. (Some of the above items would usually be considered ‘notions’ too, but I’m really dividing them by ‘things I’ll use again’ vs ‘things I bought just for the dress.’)
I knew I would want to underline the dress (see above re: basting), so I purchased some batiste from Susan Khalje’s online store. I also used horsehair braid in the hem. It was my first time doing so and I probably should have practiced more, but it did give it a little body. I also probably should have used a wider braid, but I’ll tell you what… I really wasn’t bothered with my imperfect hem on my wedding day!
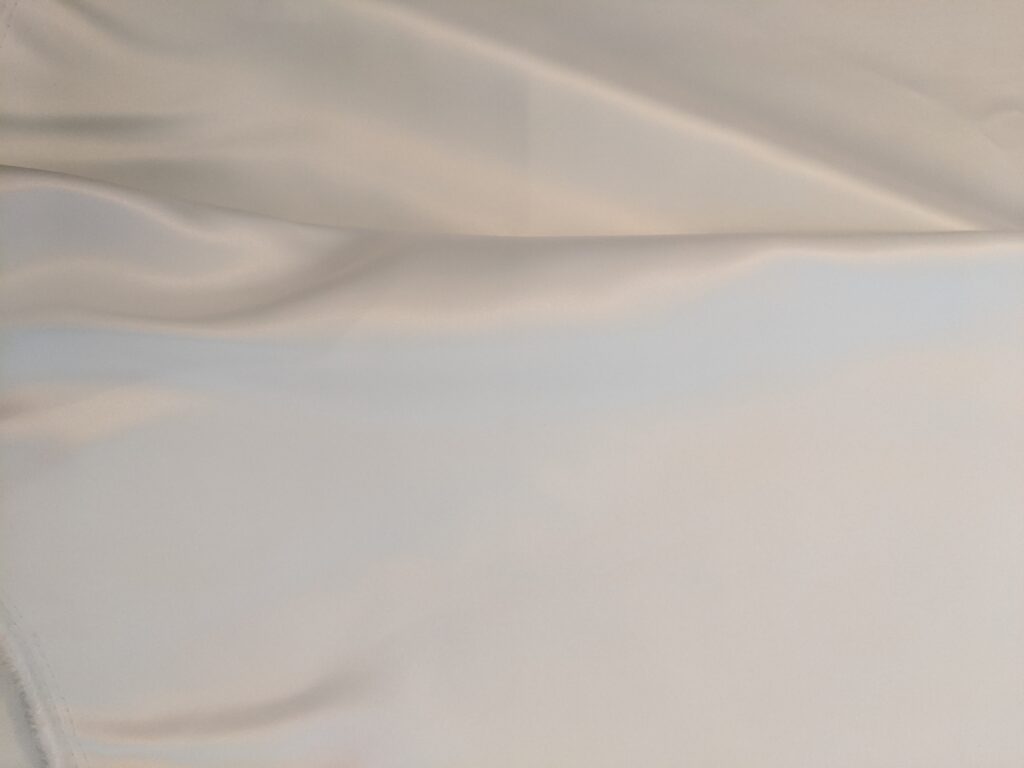
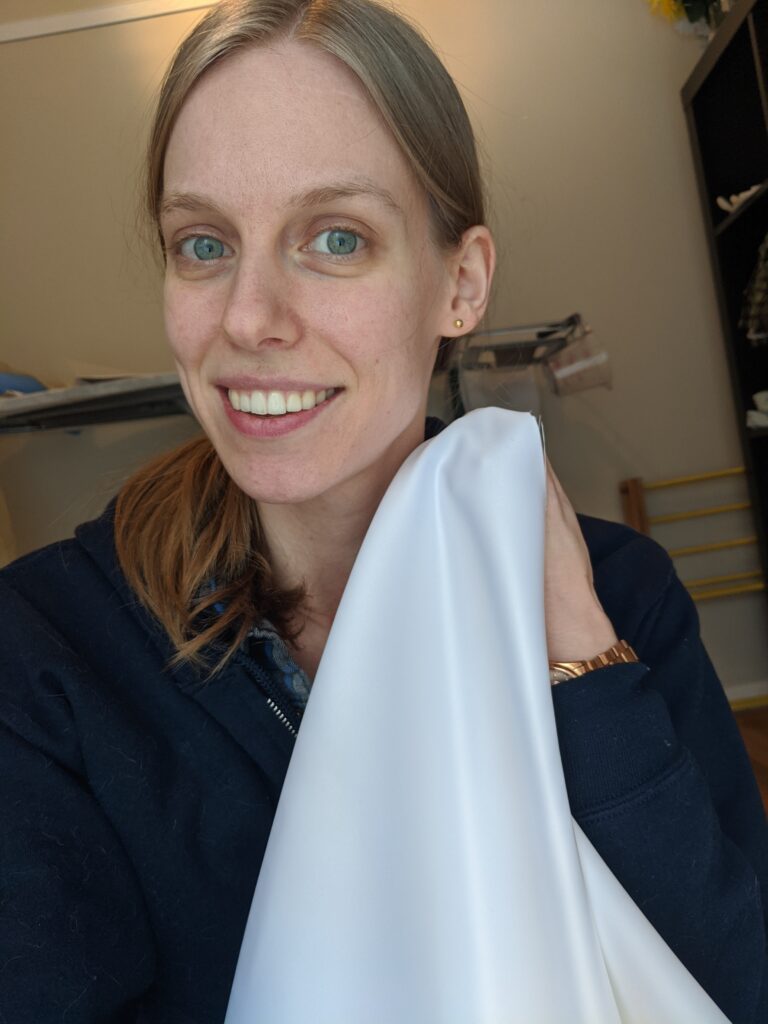
The fashion fabric (in other words, the fabric you see when I’m wearing the dress) is a poly ‘peau de soie’ from Fabricville. I looked at real silks online – this was 2020, so it was pretty much online or bust – but I just wasn’t prepared to spend that much money, especially without seeing and feeling the fabric in person.
A beautiful bonus about the fabric I did choose is how I was able to pay for it. Around the time I started dating my now husband, I was using a cash budget. I decided to start putting all my toonies in a jar, just to see how much I could save that way. I didn’t have a specific dollar goal in mind, I just wanted to see how much I could save without feeling the difference in my budget. The number of toonies grew and grew and I eventually started putting them into rolls. Somewhere along the way, I vaguely daydreamed about someday using the saved money for something related to our wedding. We were not even engaged, so allow me to stress ‘vaguely’ and ‘daydreamed.’ When we did get engaged and I still hadn’t spent those toonies, I thought maybe the approximately $200 would buy me a veil.
In the end, I actually had enough toonies to cover the cost of the fabric I chose. It felt like a sign that the fabric was the right choice, and when it arrived I was just delighted by the quality. It wasn’t overly shiny like poly can be, and it had a nice body and drape. I was excited to get sewing!
And that’s what we’ll talk about in the next post in this series. Stay tuned!
Disclaimers: The amazon links are not always to the exact listing I bought from back in 2020/2021 (most of which are no longer live). As an Amazon Associate I earn from qualifying purchases.


