If there’s one type of food I can’t resist, it’s fresh bakery bread. I used to split a loaf of sourdough from a local bakery with a colleague every week. It was a perfect arrangement; I’d pick up the loaf on Monday morning, and she’d pay me back for her half. I kept my half in the office for making sandwiches and late breakfasts, and I never had more than I could eat before it went stale.
Years later, after moving in with my now-husband, I decided I wanted to start baking my own bread. With two people to eat it, a loaf would last without going stale.
Yes, I know, I can store bread in the freezer (and I do!). I think the real reason I started upping my food-making game was that I had someone to cook for. I’m just not as inspired to make myself especially nice food. As much as I enjoy eating it, I prefer sharing it with others.
So, back to bread (or skip to the recipe). I tried a few recipes, and while I don’t think there were any total flops – see above re: me not being able to resist fresh bread – it took awhile to land on a recipe I really loved. Now, I’d like to share it with you, complete with pictures of every step in the process. The pictures are important, because although I will share approximate timing for each step in the process, the timing varies even in my own kitchen from week to week. I am not an expert but I believe this has to do with varying temperatures and humidity levels.
This recipe is a ‘no knead’ bread. However, it does require you to be at home for most of the day (though nowadays I’m comfortable enough to leave during parts of the rising process), as you have to come back to the dough several times during the process. I make this almost every Monday, and I plan my errands around it.
My bread only has five ingredients, but the specifics matter. You need traditional yeast (not instant), hot but not boiling water, regular table salt, and, ideally, two kinds of bread flour. The recipe will not turn out the same if you use all-purpose flour. I do not recommend it!
You can make it with only white bread flour, and the loaf will likely end up a little fluffier and taller. However, be warned that the dough tends to be a lot stickier and rise higher, so you’ll need a nice deep bowl and lots of extra flour to prevent sticking. The little bit of whole wheat bread flour in the recipe results in a slightly chewier bread, which I love for sandwiches. It also lets me tell myself it’s slightly healthier!
Without further ado, here is my step-by-step guide to make your own delicious, crusty, no-knead bread at home:
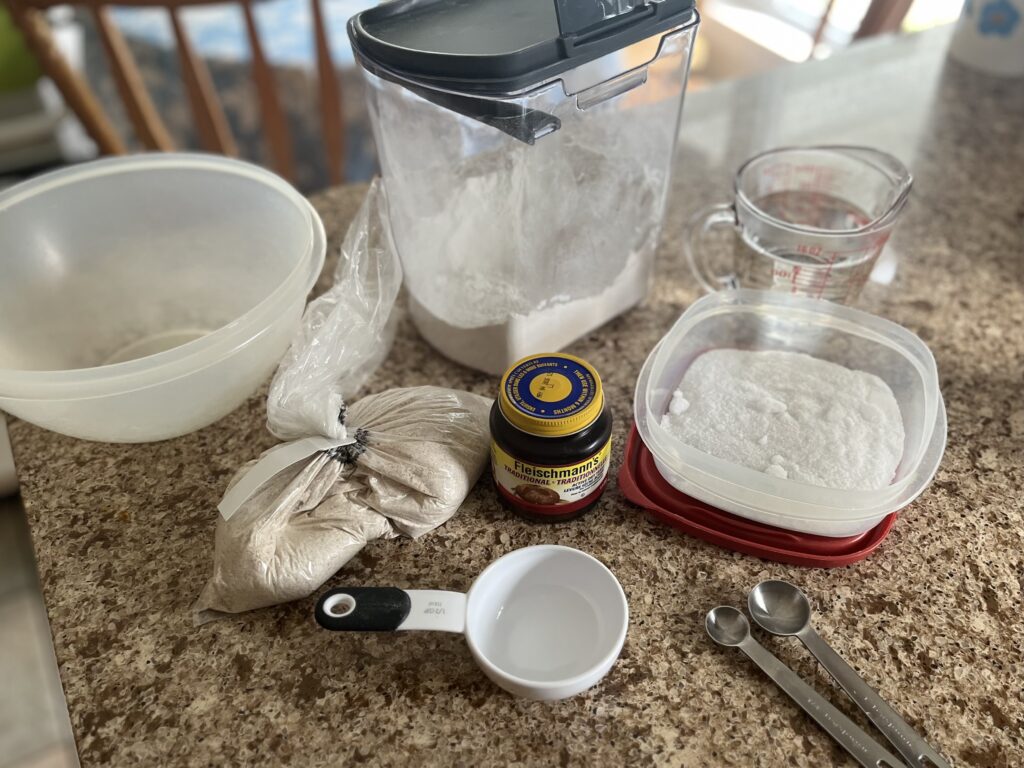
Step 1: Gather the ingredients
In a large bowl, measure out 2 ½ cups of white bread flour and ½ cup of whole wheat bread flour (or 12-grain, or whatever you like!), and mix in 2 tsp salt. Meanwhile, run your hot water until it gets steamy, then measure 1 ½ cups and add 2 ¼ tsp traditional yeast (the equivalent of one packet). If your tap water doesn’t get that hot, try using water from your kettle that is hot but not too freshly boiled.
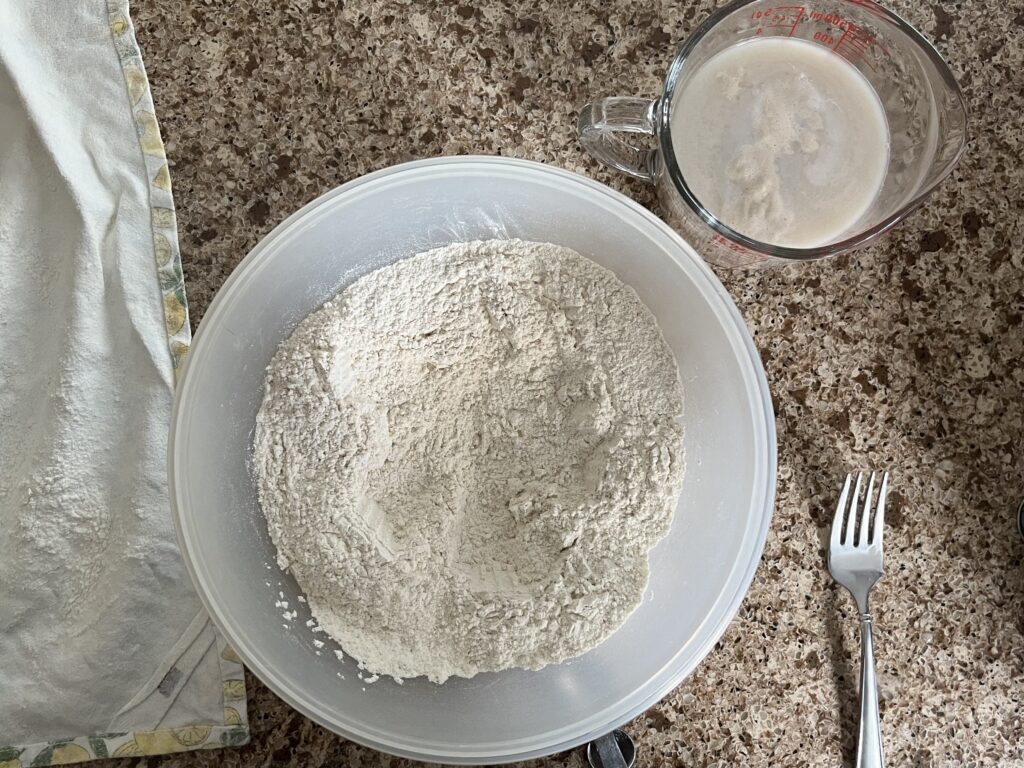
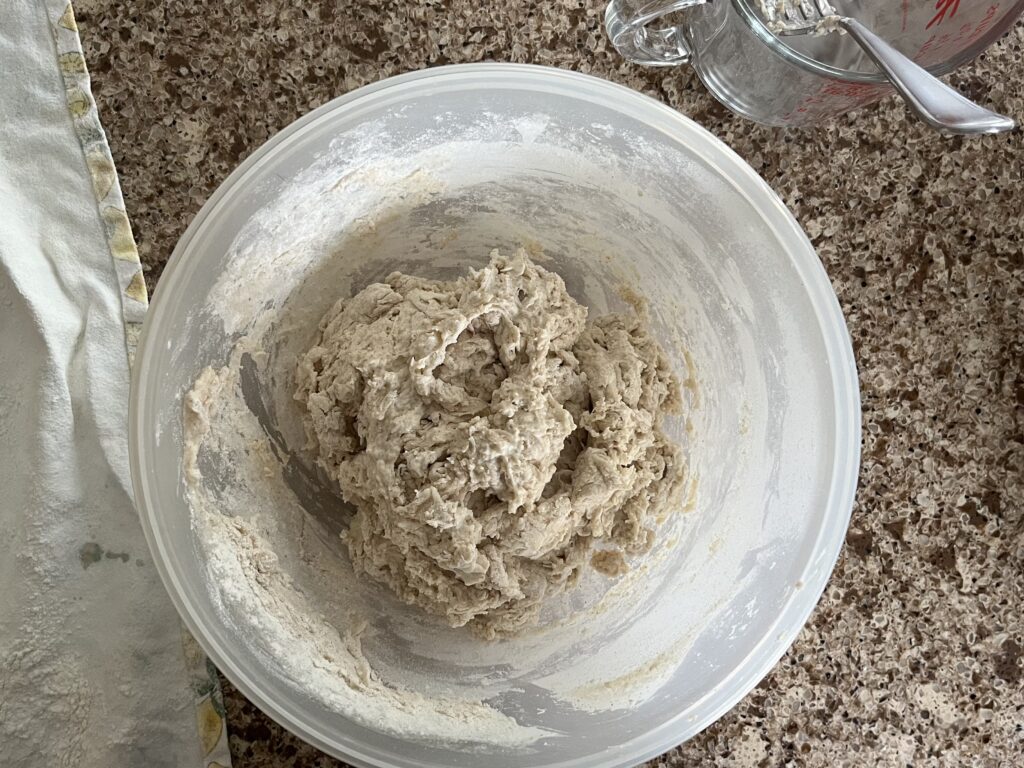
Step 2: Mix the dough
Make a well in the centre of the flour mixture. Once the yeast and water mixture gets foamy (this usually takes a few minutes), stir it to ensure it’s well mixed, then pour it into the well you’ve made. Mix with a fork until fairly well blended.
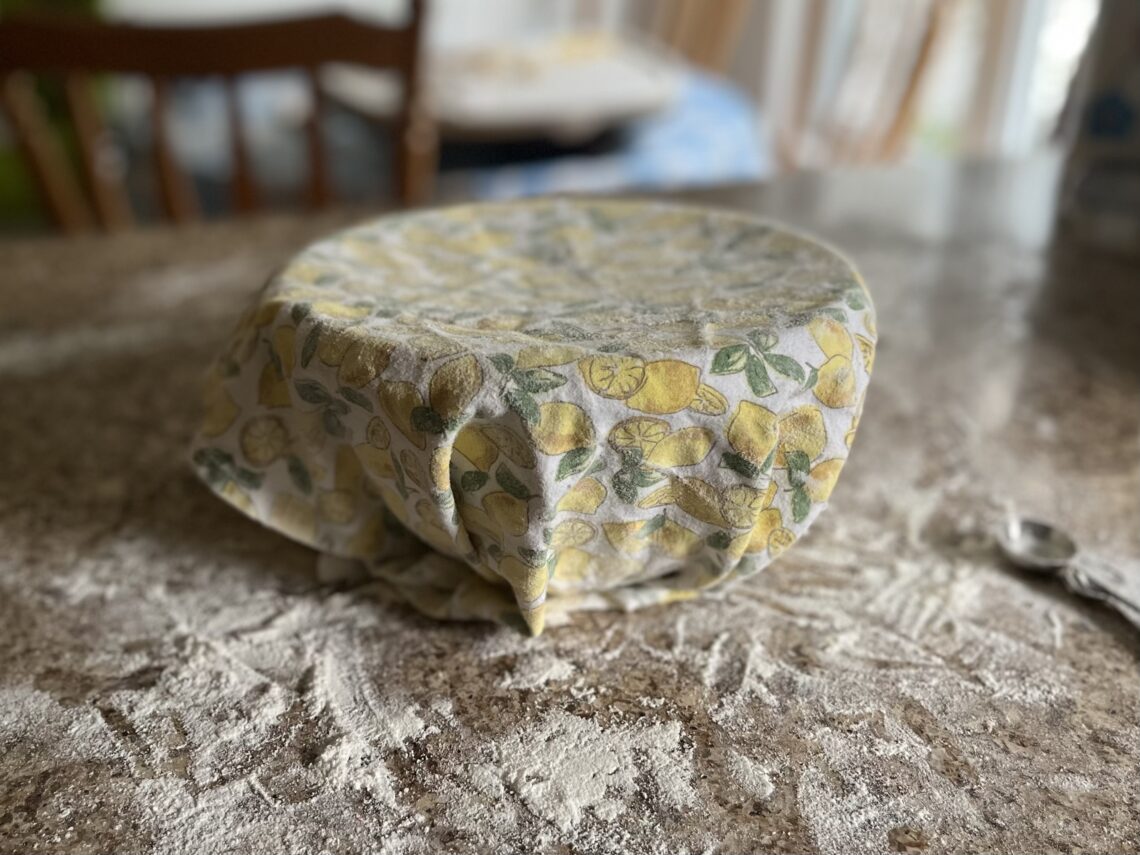
Step 3: Cover the dough
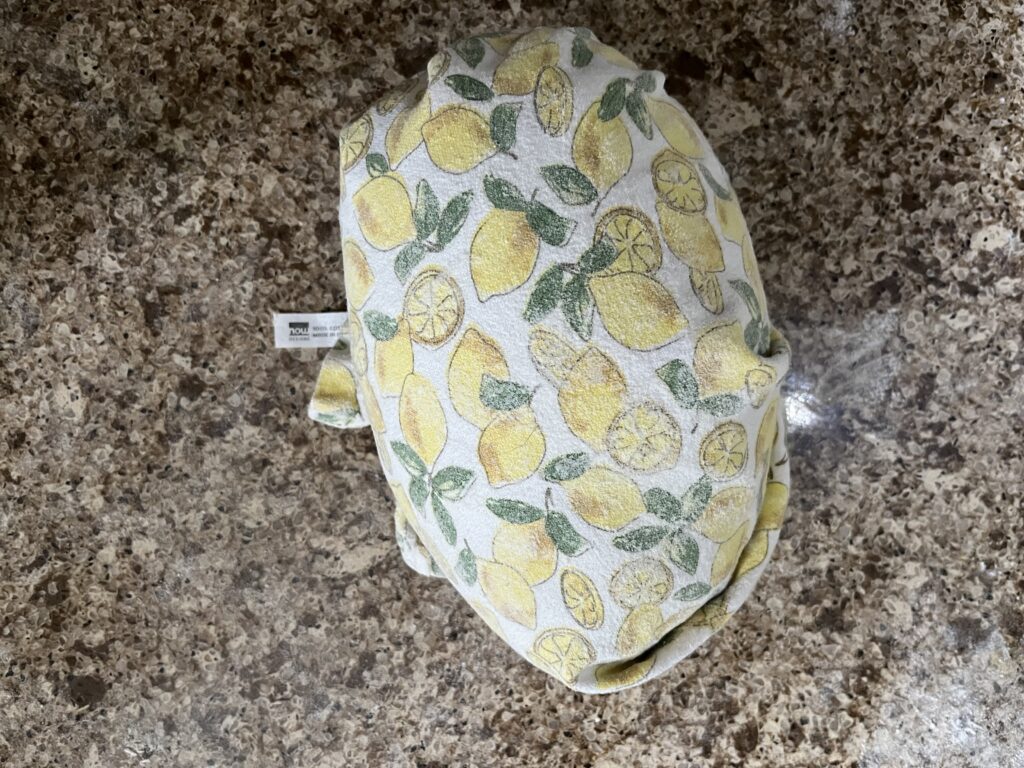
Learning how to properly cover your bread dough is key to a good rise. If you don’t have a bowl cover specifically designed for the purpose, any tea towel will do, so long as it’s large enough. Lay your tea towel down and generously shake some all-purpose flour all over it. Rub it in with your hands. You want the towel to retain as much flour as possible, in case your dough rises high enough to touch it.
Take your well floured tea towel, flour side down, and wrap your bowl as tightly as you can with it. This requires tucking the ends under the bowl as much as possible to avoid it coming loose.

Step 4: Fold, rise, and repeat
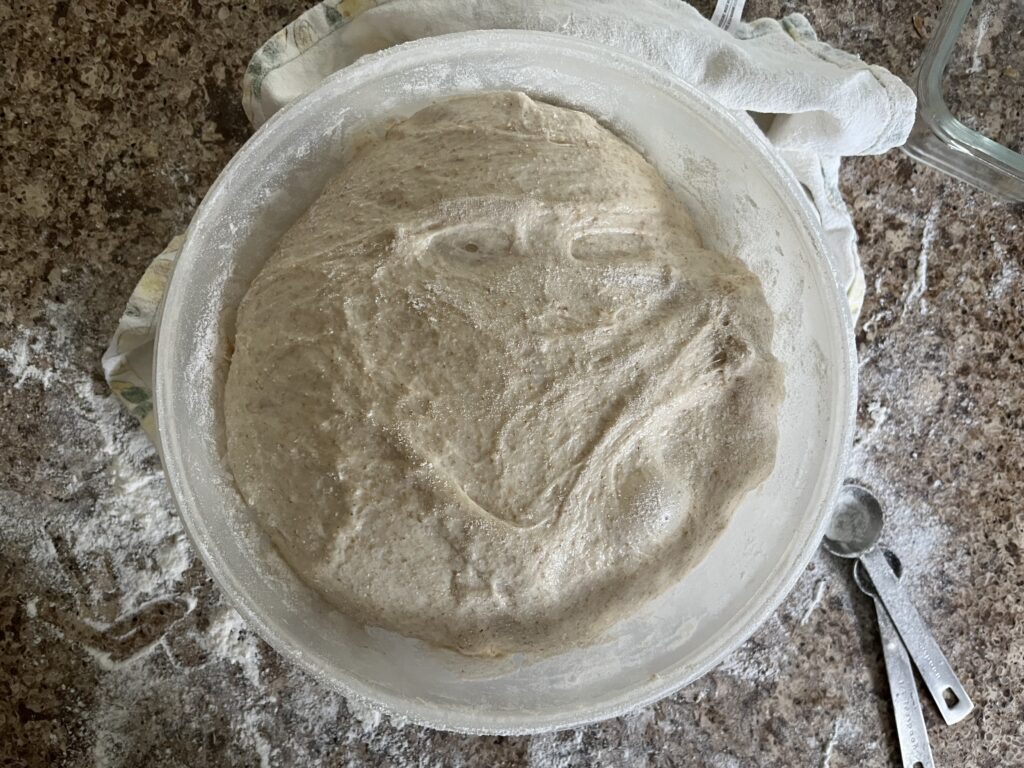
Once your mixed dough is covered, set yourself a 30-minute timer. When it goes off, unwrap the bowl, and wash your hands but don’t dry them. With your damp fingers, pick up as much of the dough as you can. Stretch the dough apart, then fold it over itself. Give it a one-quarter turn, and repeat the stretch and fold. Do this two more times, until you’ve pulled, folded, and turned four times. Place your dough back in the bowl and re-wrap it with your tea towel.
This time, set your timer for 45-60 minutes before folding the dough four times again as above. Then, give it another 45-60 minutes covered before you go to the next step. You’ll know the dough is ready to fold each time when it’s looking smoother and taller than the last time.
Step 5: Prepare to bake
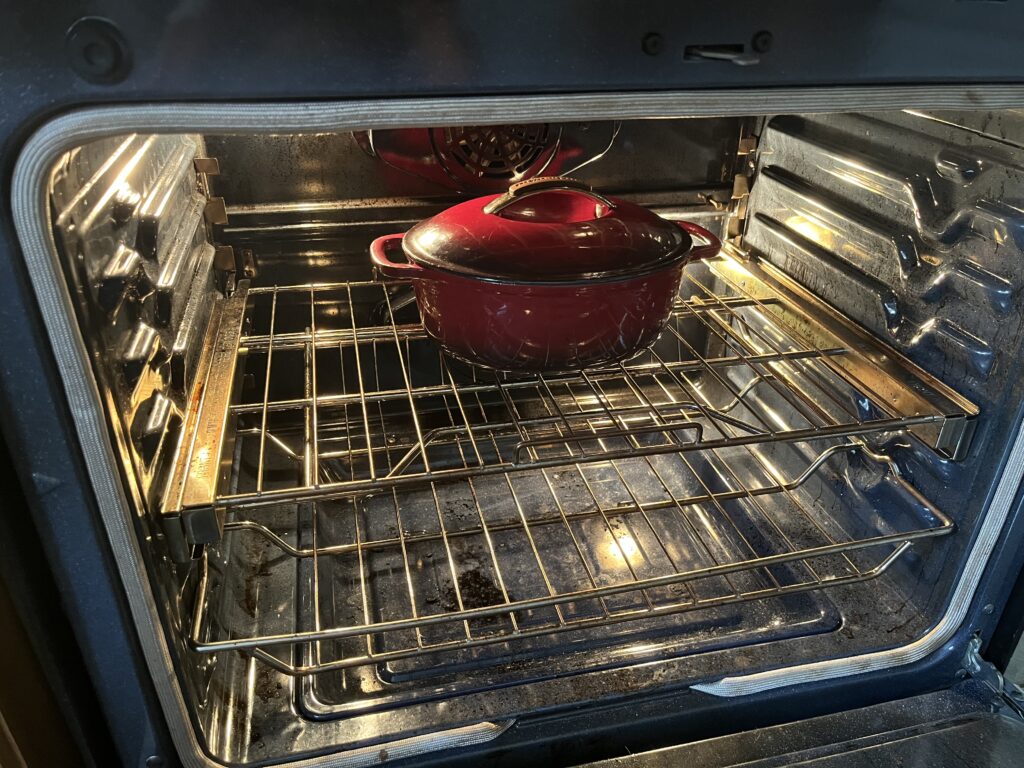
This time, when your timer goes off and your dough is looking nice and stretchy, place a small dutch oven, lid on, in the centre of your oven and preheat to 450F. You want to give your oven lots and lots of time to heat up, as often it will tell you it’s at temperature before it is really ready, especially at higher temperatures. I recommend an oven thermometer if you aren’t sure how accurate your oven is!
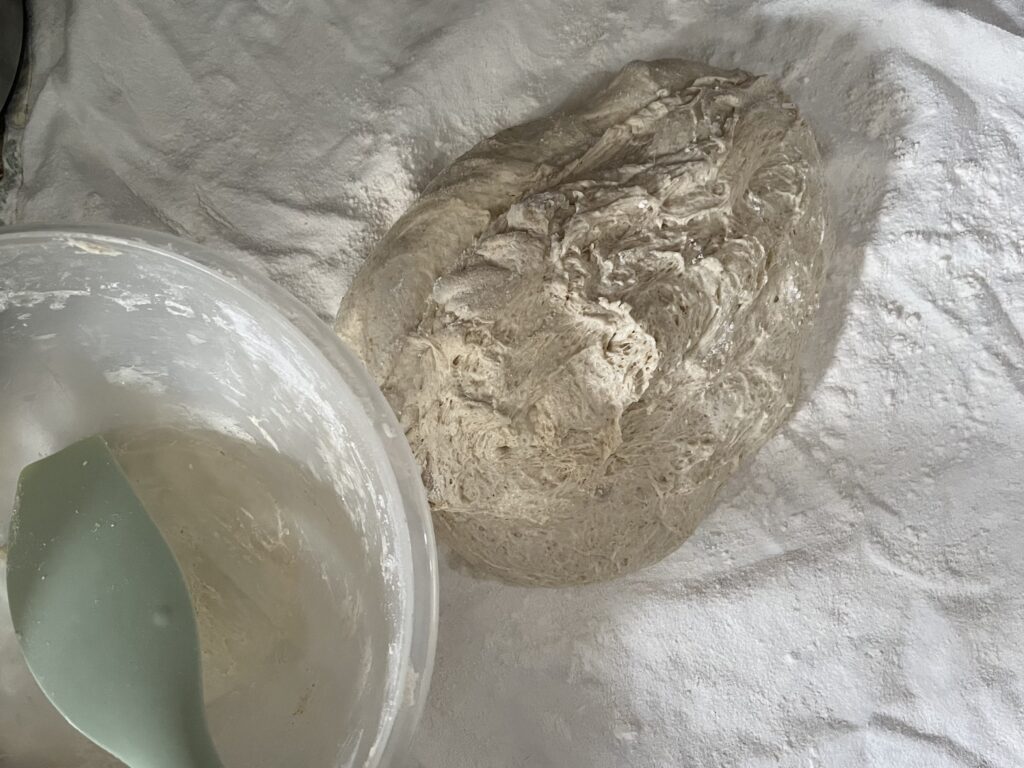
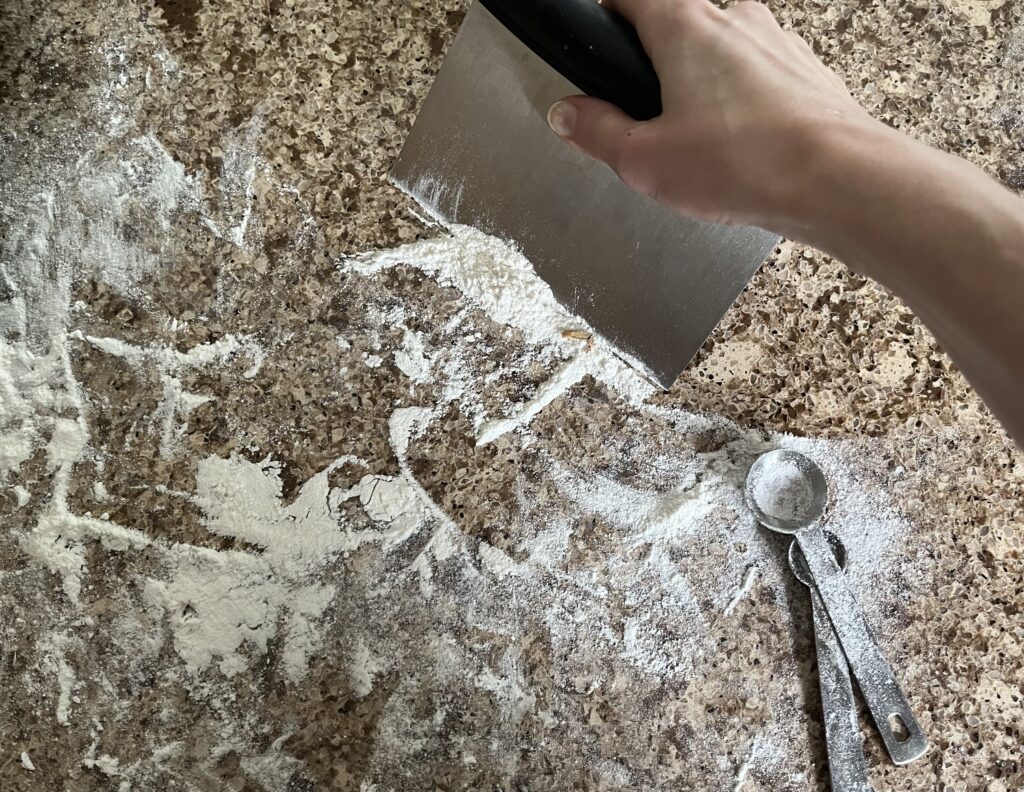
While the oven heats up, lay your floured tea towel down on a clean counter, and set ¼ cup of flour aside. I usually find the towel needs a bit more flour at this point, so use some of that ¼ cup to coat your towel as needed. The more you make bread, the more you’ll know how much flour is needed here.
Using a spatula, scrape your dough onto your floured towel. With floured hands, pull your dough apart one more time, but this time fold it in thirds (each side toward the middle). Place it fold-side down on your towel and wrap it tightly.
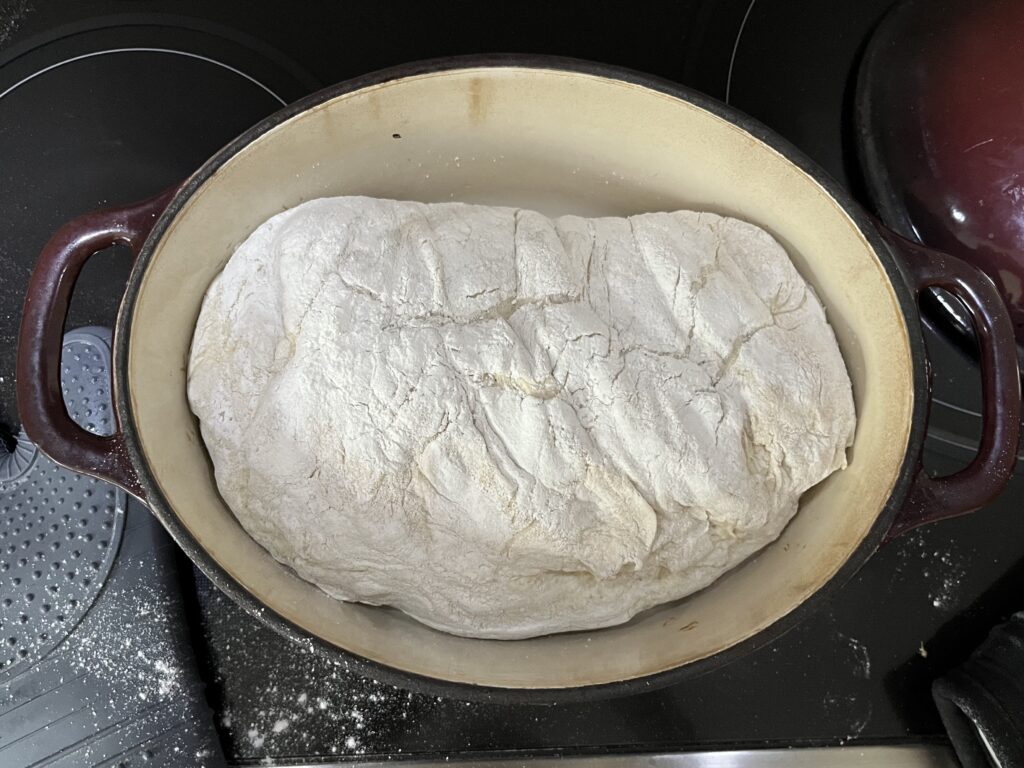
The dough is almost ready but needs to rise one more time in this shape, so set yourself a 45-minute timer. This gives the oven, and dutch oven, lots of time to heat up.

Step 6: Baking the loaf
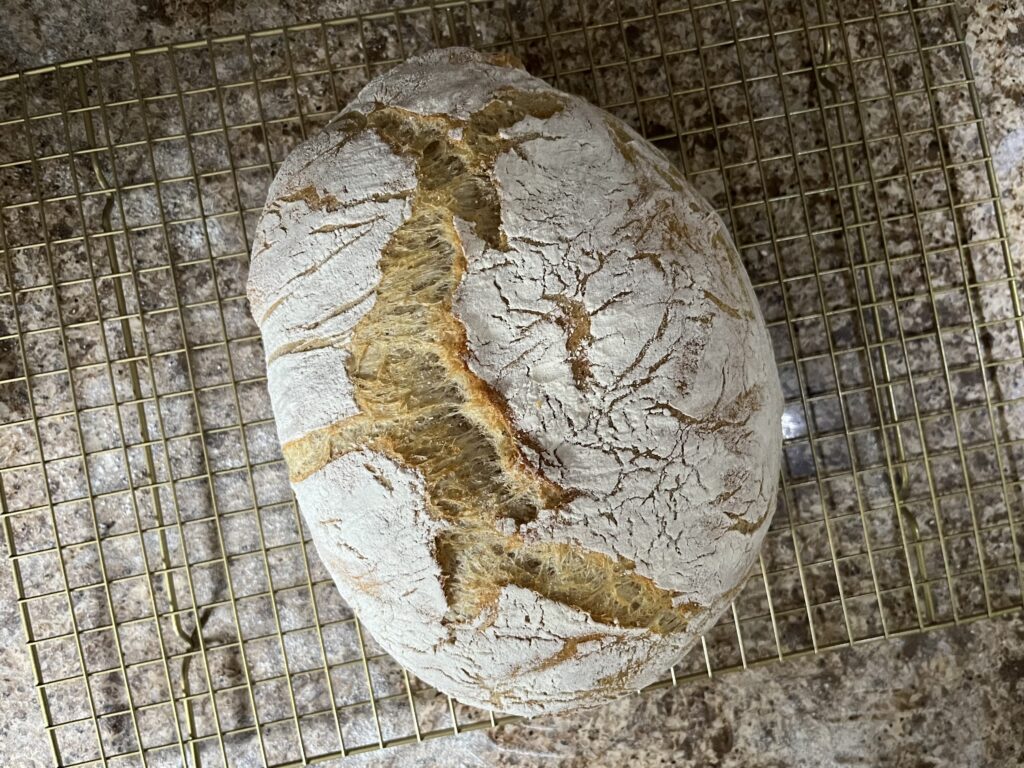
When your dough has risen once more, dump the loaf into your pre-heated dutch oven. It should fall right out of the tea towel if you’ve used enough flour. Bake at 450F for 25 minutes covered, then 10 more minutes uncovered. Dump the finished loaf onto a wire rack to cool.
Here’s a trick to check if your loaf is properly cooked: rap on the bottom of the loaf with your knuckles. You should hear a hollow knocking sound if the loaf is done.
Step 7: Enjoy and store your bread
You can dig in once it’s cool enough to touch, but I recommend waiting for it to cool as much as possible if you want to be able to cut it at all evenly. Do not wrap it up for storage until it is fully cooled, or you will trap moisture and it will go bad on you.
Celebrate and enjoy your homemade, fresh bread!
Easy, no-knead bread
Ingredients:
- 2 ½ cups white bread flour
- ½ cup whole wheat or other bread flour (may substitute white)
- 2 tsp table salt
- 1 ½ cups very hot but not boiling water
- 2 ¼ tsp traditional yeast
You will also need some all-purpose flour to prevent the dough from sticking to your tea towel, but you can use bread flour if it’s all you have.
Directions:
- Mix the yeast and water and let it sit until it gets foamy.
- Mix flours and salt in a medium bowl, leaving a well in the centre. Pour in the water and yeast, mixing well.
- Cover with a floured tea towel and let rise for 30 minutes.
- Stretch and fold the dough four times, using damp fingers, and turning it a quarter turn each time.
- Cover and let it rise for another 45-60 minutes.
- Repeat steps 4 and 5. The dough should get smoother and taller each time.
- Dump the dough onto the well-floured tea towel (which may require re-flouring first), and stretch and fold the dough once from each side to create a loaf. Flour it well and wrap it in the tea towel tightly.
- Let it rise another 45-60 minutes, while preheating a small dutch oven* (with its lid) in your oven at 450F.
- Bake the loaf in the centre of your oven for 25 minutes covered and 10 minutes uncovered. Allow it to cool as much as you can stand before cutting into it, and fully before storing.
*No dutch oven? No problem! You can also cook this dough on a pre-heated baking sheet, though it won’t give you the exact same result. A dutch oven traps the moisture and ensures an even bake with a thin, crisp crust. You can try the home baker’s trick of placing a baking dish on your oven’s bottom rack and filling it with boiling water just before baking, to mimic professional ovens that have steam jets. This is what I used to do before I got a suitably sized dutch oven. It’s not the same, but it’s a great way to work with what you have!