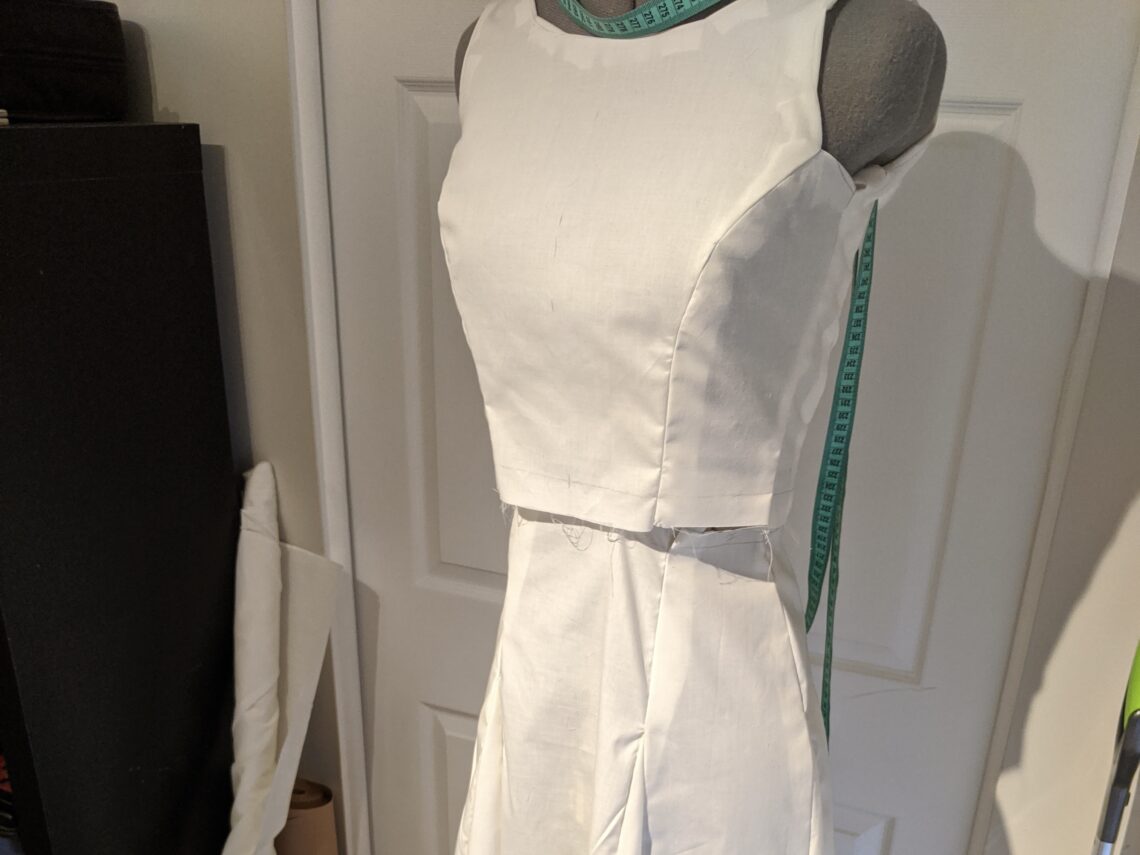
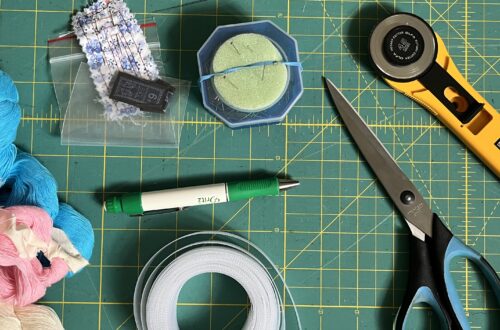
Welcome back to my wedding dress series! In my first two posts, I talked a little about why I decided to do it and how the mockup process went. Today, I’ll be covering what supplies and materials I used, and which were most beneficial. Before I began this project, I already had a fairly well stocked sewing space. Before I get into items I purchased for the project, here are some of the things I already had: I will note that I have a nice iron with a great steam function, which I consider necessary for garment sewing. For a…
-
-
In my first post about making my own wedding dress, I shared a little about how I decided to take on the project in the first place (you can read that post here: The Making of My Wedding Dress, Part 1). Today, we’ll be diving into the process itself, starting with toiles and alterations. If you’re reading this as someone who doesn’t do much garment sewing, a ‘toile’ is a sewing word for mock-up or trial run; we also call these ‘muslins’ because they’re traditionally made with muslin fabric. Part of deciding to take on the project was realizing that…
-
It was always an idle dream of mine to make my own wedding dress, but I never thought I’d actually do it. As a kid, I didn’t really have the patience to take my time and learn the most beautiful sewing techniques. I often took shortcuts to an imperfect but wearable finished product. You’ll see, if you follow my blog, that I still take shortcuts sometimes (even on my wedding dress!), but these days, I’m choosier about when I do so. When the pandemic hit, I, like many people, had a lot more time at home. When my now-husband proposed,…